Group Console
Group Console is a tool that allows you to browse groups on the developer portal.
It allows you to make the following operations:
Listing Groups
You can get a list of all groups by launching the group console with the following steps.
- Select the application on the developer portal.
- Click on the "Groups" icon.
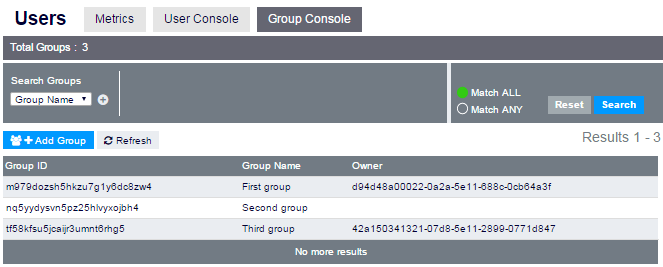
This will bring up the group console with a list of all groups like this:
Filtering Groups
You can freely filter the group list.
Use the "Query by" and "Query value" UI to set your filter. The corresponding query condition will be set in the "Query" field and applied to the group list.
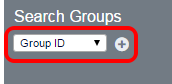
- You can also set your query condition directly in the "Query" field. Clicking the "help?" will show you some examples of setting your query condition.
- You can save the current query condition by clicking the "Save" button at the right of the "Query" field.
Adding New Groups
To add a new group, click the "+ Add Group" button.

The following UI for adding a new group will show up.

- Type in the group name and (optionally) the group ID and click the "Save" button.
- If you do not specify the group ID, Kii Cloud will assign the group ID automatically.
- You can also set a group owner at the same time.
- To set the owner, put a check on "Register a group Owner".
- Select how you want to search the target user (i.e., by login name, by display name, by email, by phone number, or by user ID) with the pull-down menu. Then, type in the identifier of the target user.
- As you type in the identifier, a list of candidates will show up for your convenience. Select the target user from the candidate list.
Editing Groups
Clicking a group in the list will bring up the edit screen like this:
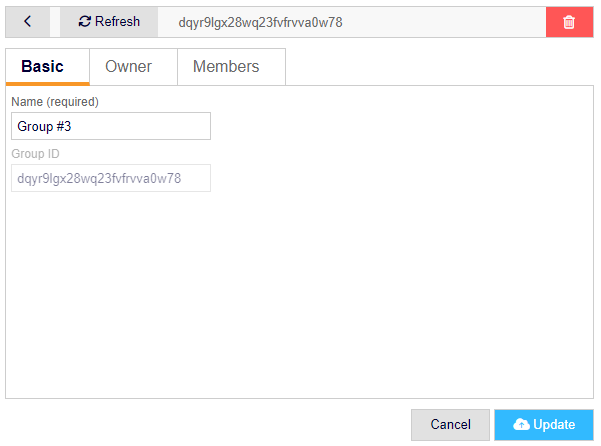
You can perform the following operations:
Change the group name
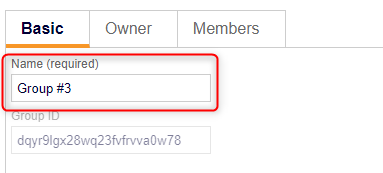
Select the "Basic" tab. Type in a new group name in the Name section and click the "Update" button.
Change the group owner
You can check the current group owner by selecting the "Owner" tab.
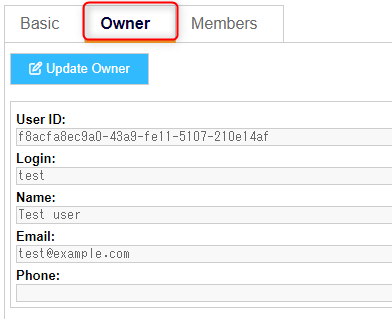
To change the group owner, click the "Update Owner" button.
- Select how you want to search the target user (i.e., by login name, by display name, by email, by phone number, or by user ID) with the pull-down menu.
- Then, type in the identifier of the target user. As you type in the identifier, a list of candidates will show up for your convenience. Select the target user from the candidate list.
- When you are done, click the "Update" button to assign the new group owner.
Add/Remove the group members
You can check the current group members by selecting the "Members" button.
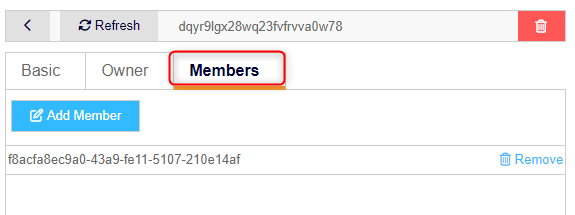
- To remove a member, click the "Remove" button.
- To add a new group member, click the "Add Member" button.
- Select how you want to search the target user (i.e., by login name, by display name, by email, by phone number, or by user ID) with the pull-down menu.
- Then, type in the identifier of the target user.
- As you type in the identifier, a list of candidates will show up for your convenience. Select the target user from the candidate list.
- When you are done, click the "Add Member" button.
Deleting a Group
To delete a group, click the target group in the list and click the "Delete" button.
