Onboarding
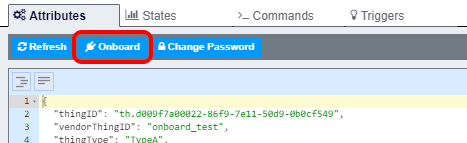
After launching the thing console, click the "Onboarding" button to start onboarding a thing.
The following onboarding screen will show up.
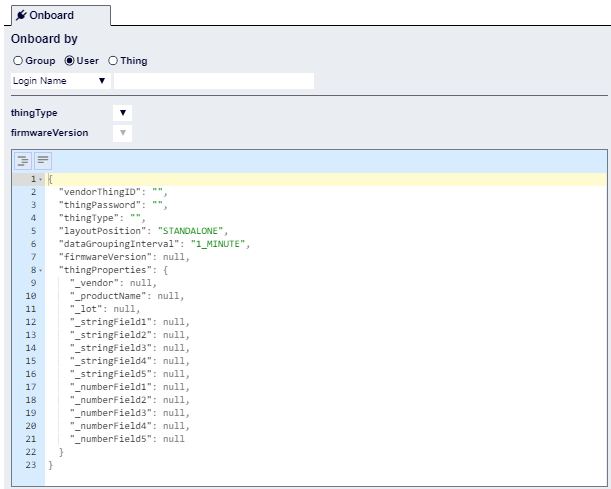
Set an owner, set attributes, and press the "Onboard" button to onboard the thing.
Set an owner
Set an owner of the onboarding thing as needed.

First, specify who is going to onboard the thing with the radio button. You can select "group", "user", or "thing".
If you select "group" or "user", you need to set a thing owner with the following steps (these steps are not required if you select "thing").
- Select how you want to specify the owner in the pull-down menu.
- If a group is onboarding the thing, you can select either "Group Name" or "Group ID".
- If a user is onboarding the thing, you can select one of "Login Name", "Display Name", "Email", "Phone Number", or "User ID".
- Specify the user or group who will become the owner. Candidate users/groups will be presented in the drop-down as you type in their identity.
Set attributes
Set the attributes of the onboarding thing.
You can specify the followings fields. See Onboarding for the details of each field.
- vendorThingID
- thingPassword
- thingType
- layoutPosition
- dataGroupingInterval
- firmwareVersion
- thingProperties
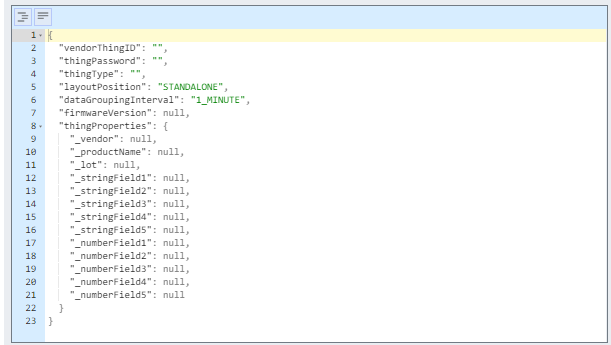
You can also specify the following field that represents the category of the thing.
- layoutPosition
- Specify "STANDALONE" if you are not going to use the Gateway feature.
- Specify either "GATEWAY" or "ENDNODE" if you are going to use the gateway feature. See What is Gateway? for the details of the gateway and end nodes.