Test
Now that we've downloaded the sample code, let us test the mobile app.
Preparing Hello Kii
To run Hello Kii, unzip the sample code in any directory. The unzipped directory can be placed on a Web server to make the tutorial closer to the production environment.
Testing Hello Kii
Open the unzipped index.html file with your browser to launch the mobile app. You can use any browsers for desktops or mobile devices.
Now you can manipulate the app as you want. In this tutorial, let's manipulate with the following steps:
You will find that the mobile app works as expected in these steps. Here, check that you can implement common features easily with Kii Cloud.
You will see the following login screen after you launch the application.

Type in the following user information and click the "Sign Up" button.
- Username: aaaa
- Password: 1111
When you click the "Sign Up" button, the application will communicate with Kii Cloud and create the specified user.
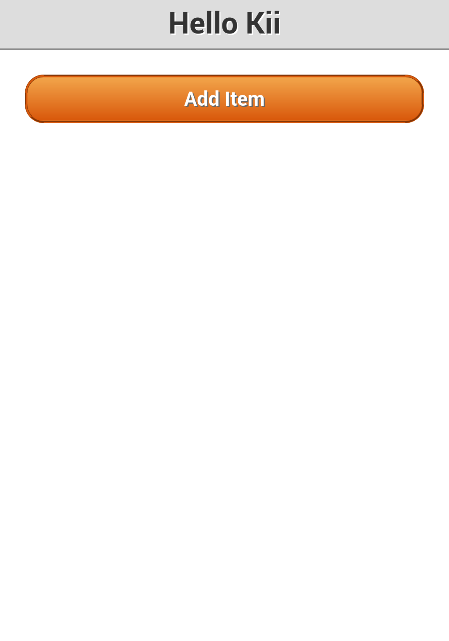
The following data listing screen now shows up.

There is no data at this point, so the list is empty.
Click the "Add Item" button three times.
Clicking the "Add Item" button will create a new object and show it on the screen. At the same time, the same data is uploaded to Kii Cloud.
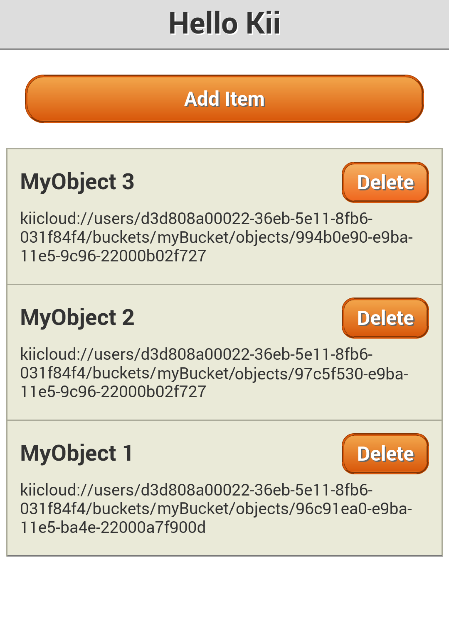
Each object has a title such as
MyObject 1. The number is incremented every time an object is added.Under the title, the URI of the KiiObject that corresponds to the object is displayed as an identifier of the object.
Click the "Delete" button in the list on the screen to delete items.
Reset the page.
You can open the initial screen by using the reload feature of the browser because Hello Kii runs on the same URL.
Many frameworks support page transition by the Back button of browsers. However, Hello Kii is implemented in a simple way and you need to reload the page to return to the initial screen.
The login screen opens again.
Log in to the application with the credentials for the created user (username:
aaaaand password:1111) and click the "Log In" button.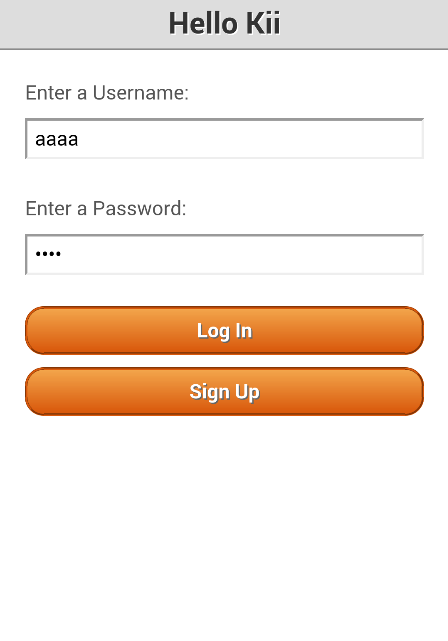
You should be able to see the same list of data that you've seen in Step 4.
This data is retrieved from Kii Cloud.
If you click the "Add Item" at this point, a newly created MyObject will have the suffix number 1. The suffix number is reset because Hello Kii does not preserve the number when the mobile app is closed; the feature for preserving the number is not implemented for the code simplicity.
Reset the page again to open the login screen.
Now, let's register a new user. Type in the following login information and click the "Sign up" button.
- Username: bbbb
- Password: 2222
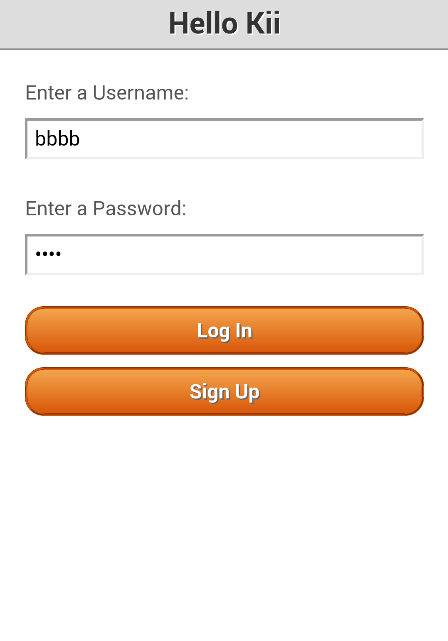
This time, you will see an empty list of data.
This is because we are now referring the region different from that of user
aaaa. If you log in again as the useraaaa, you will see the list of registered data again.
What's next?
We will show you how you can browse the application data on the developer portal. This feature is useful when you want to verify the data while you are developing and debugging your application.